

Design a tablet template
Lay out where each piece of text sits on a tablet — the name, the receipt number, the honorific — so it prints at a readable, consistent size every time.
Before you start
Section titled “Before you start”- Know the grid you’re printing to: how many tablet cells fit across and down one printed page (for example, 5 columns × 10 rows).
- Have your plaque or background image ready to upload, if the template uses one.
-
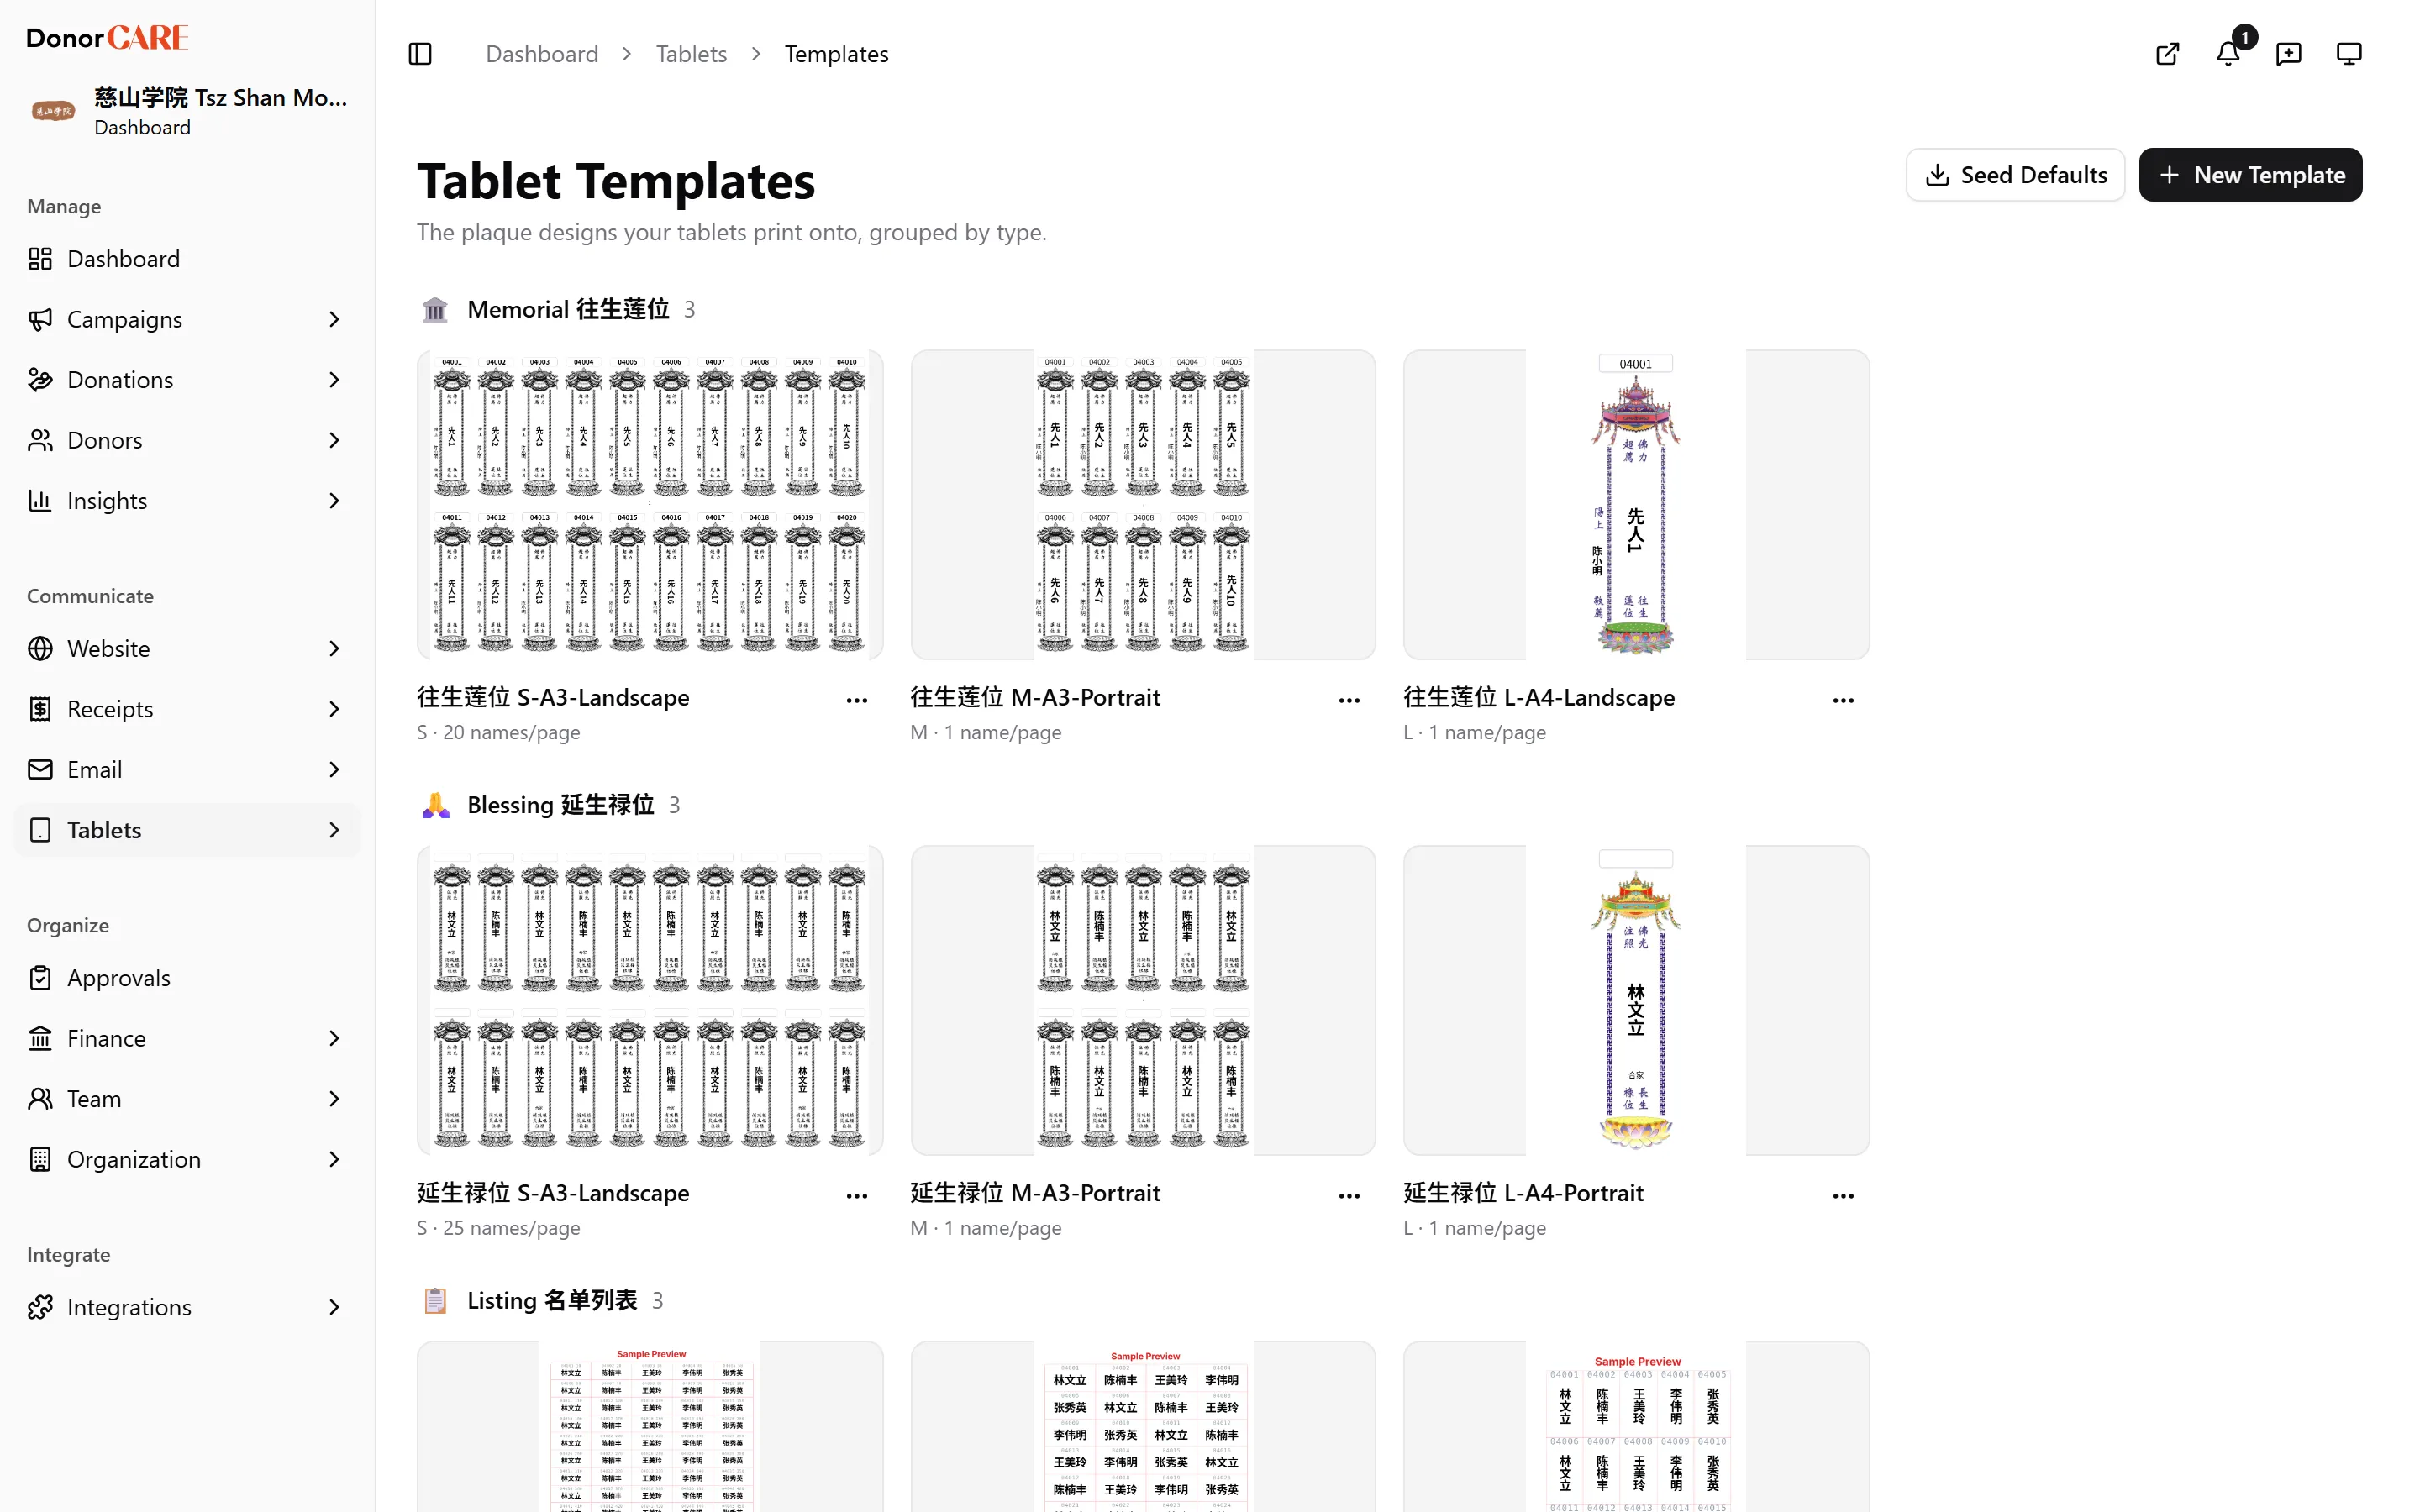
Open Tablets → Templates and start a new template, or duplicate an existing one that’s close to what you need.
-
Set the grid. Enter Cols and Rows for how many tablet cells fit on one printed page, and upload the background image for one cell.
-
Add a zone for each piece of text. A zone is one field — the name, the honorific, the receipt number — positioned on the cell. For each zone, set:
- Direction — vertical (top-to-bottom columns, the traditional layout for Chinese text) or horizontal
- Position and alignment on the cell
- Font size — this is a maximum; DonorCARE shrinks it to fit a long name automatically
-
Turn on “One line per name (auto-shrink)”. With this on, a name never wraps into a second column — the font shrinks until the whole name fits in one column instead. Leave it off only if you’re intentionally keeping an older template’s own wrapping behaviour.
-
Preview with sample names, then save. The preview panel shows sample data in the grid you’ve set up so you can check spacing before generating a real run.
Proof before you print
Section titled “Proof before you print”Do
Generate one real page as a PDF and open it at full size before starting a print run — especially right after editing a template that’s already in use. Check every name sits in one column, isn’t clipped at the edge, and isn’t split across two columns.
Don’t
Don’t judge a template from the on-screen preview alone, and don’t change a template’s Cols or Rows after it’s already been used to print without re-checking a generated PDF. The grid drives the type size calculation for every zone, so a grid change can silently shrink or clip names that printed correctly before — this has happened on a live print run.
If something goes wrong
Section titled “If something goes wrong”| What you see | What it means | What to do |
|---|---|---|
| A name prints as two columns instead of one | The zone allowed wrapping and the name was one character too long for its column | Turn on One line per name (auto-shrink) for that template |
| Names look noticeably smaller than they used to on the same template | The template’s Cols or Rows changed since the last print run, which changes how large text is allowed to be | Re-check a freshly generated PDF at full size before printing; adjust the grid back or re-proof at the new size |
| The preview looks fine but a printed sheet doesn’t match | The on-screen preview and a generated PDF aren’t always driven identically | Always proof the actual generated PDF, not the editor’s preview, before a print run |
Related
Section titled “Related”Screenshots use sample data. Every screen on this page is captured against a demo organisation seeded with generated donors, amounts, receipt numbers and campaigns. Any resemblance to a real person or organisation is coincidental.